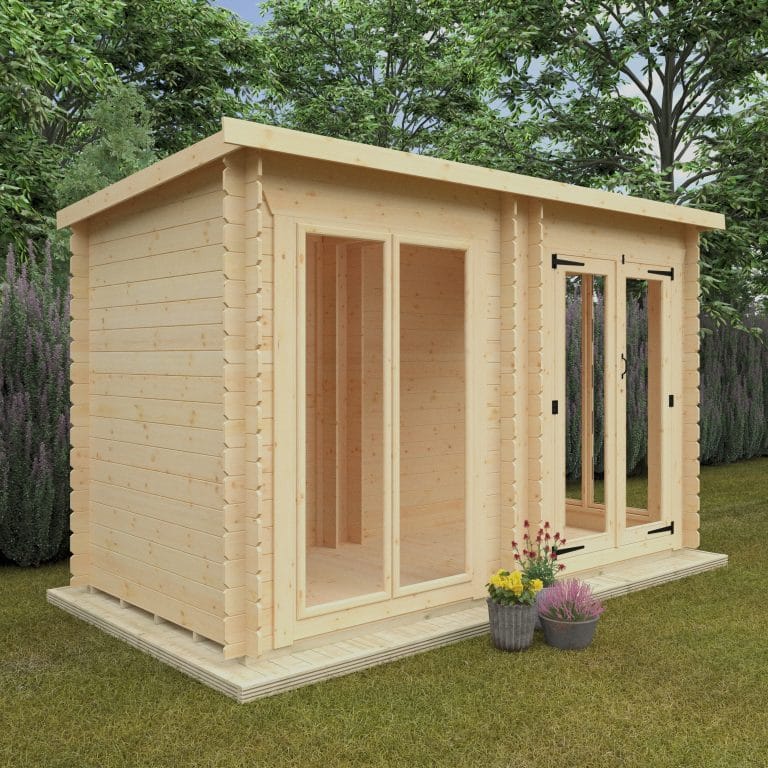
Welcome to our Log Cabin base guide
01. What base is best
Without the correct prepared base, your new building could be very difficult to assemble. This could lead to the future deterioration of the product — such as your door could start to drop out of alignment and become difficult to open.
We recommend all of our log cabins are installed on to a solid and perfectly leveled base constructed to a very good standard. Like all projects its always best to start as you mean to go on by preparing a concrete, paving stoned or wooden framed base is the keystone to achieve a perfectly smooth assembly.
Concrete method
02. Preparing for concrete
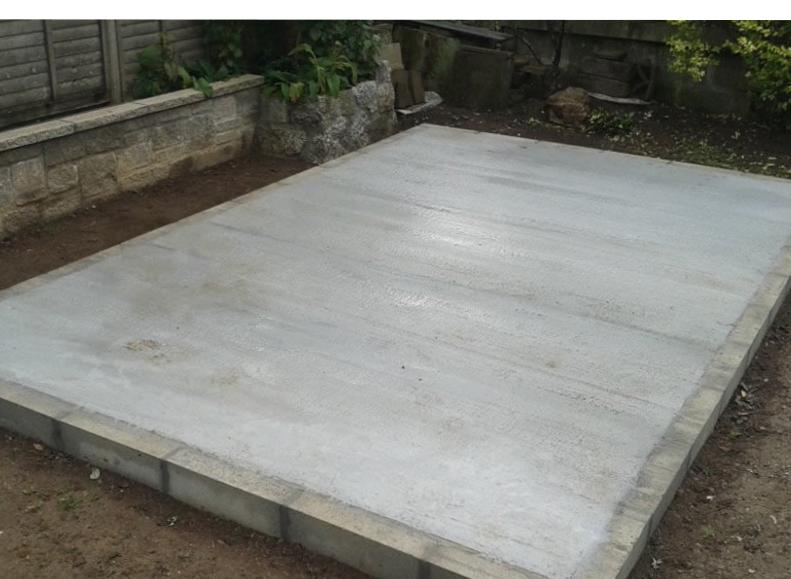
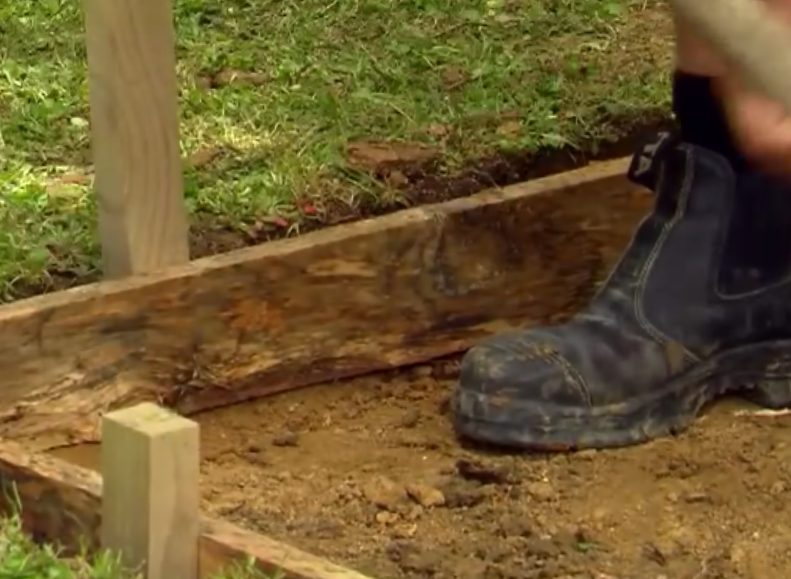
Mark out and excavate to around 6” (150mm) deep, within the excavated area, lay approximately 3” (75mm) of firmly compacted hardcore to act as a sound foundation and level with compacted sand if appropriate. You may wish to use a rake to aid with the leveling process. By measuring, cutting and fitting timber rails or steel shuttering to the shape of the base. Use a tape measure, spirit level, and tri-square to ensure the base with shuttering is 100% level and square.
Once you have completed the sub- base you should then lay approximately 3” (75mm) of concrete. Do not allow the mix to become too wet as this will weaken the concrete. Spread the poured concrete evenly in the shuttering, taking particular care to push the concrete into the corners and edges.
Arguably the best method to lay the concrete is to do it a layer at a time and compact it until the shuttering frame is full. Leave the concrete flush with the top of the framework and smooth it out using either a wooden or plastic float.
Paving method
03. Preparing for paving slabs
Remove any vegetation from the area where you have chosen to construct your paving slab base. Use pegs and string to mark out an area for your new base. Measure the lengths between opposite angles to ensure the area is square and not slanted. These lengths will be equal if the base is perfectly square.
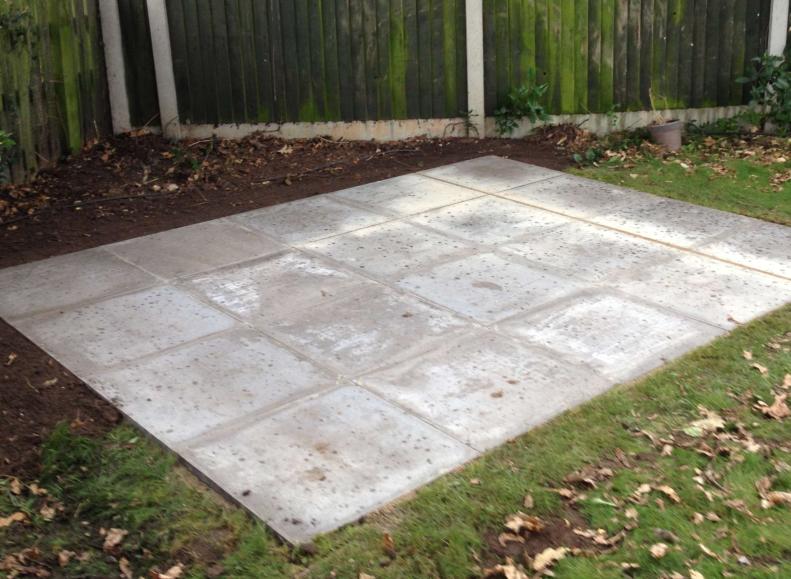
Excavate the ground in the marked out area to around 2.5″ (63.5mm) deep. Remove the pegs and string. Within the excavated area, lay approximately 1.5″ (40mm) mix of one part cement to eight parts building sand , this creates a dry sand and cement mix. Level the mix – you may wish to use a spirit level and a rake to aid with the leveling process.
Starting from one corner lay the paving slabs and tap down softly with a rubber mallet. The surface of the paving slabs should be slightly higher than the surrounding ground to encourage rain water drainage. Use a spirit level to make sure all the slabs are square, level and firmly butted together.
Brush off any excess sand and cement mix – the base is now ready for you to begin assembly of your new garden building.
Wooden frame method
04. Preparing a wooden frame
By now you should have completed all of your planning, during which stage you hopefully chose an ideal spot to locate for your wooden deck frame. It’s important to properly prepare this ground beforehand so as to prevent any issues in the future.
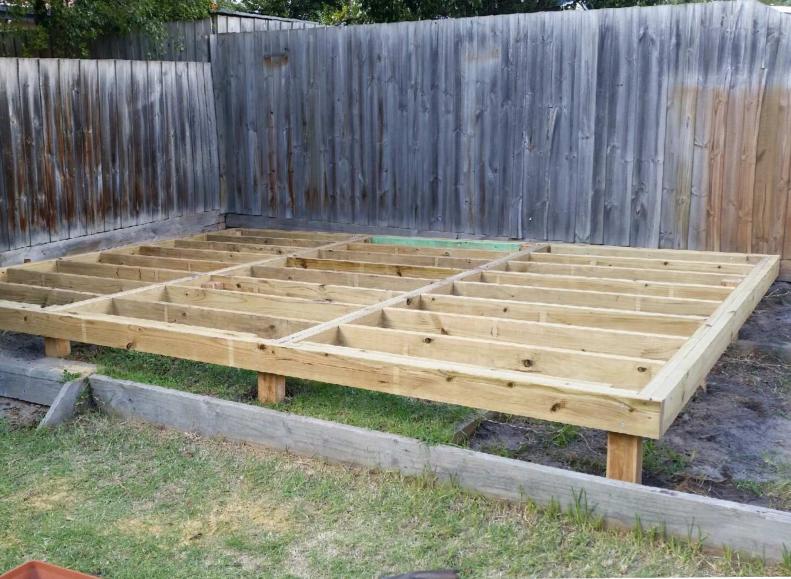
Once you have identified your site, you should – Fix pegs in the ground, marking out all four corners. Use a string line and mark out the square dimensions of your new wooden frame. Within these dimensions, clear away all vegetation. At this stage of the build, your wooden frame can go one of a number of ways, depending on your build complexity. Once you have begun building your wooden frame, you should understand the height of your building, this will be determined by the size of timber used. The recommended spacing between joists depends on whether your new building floor spars run horizontal or diagonal. The centre spacing between joists for horizontal spars should be 400mm, while the spacing for diagonal spars is slightly less at 300mm.
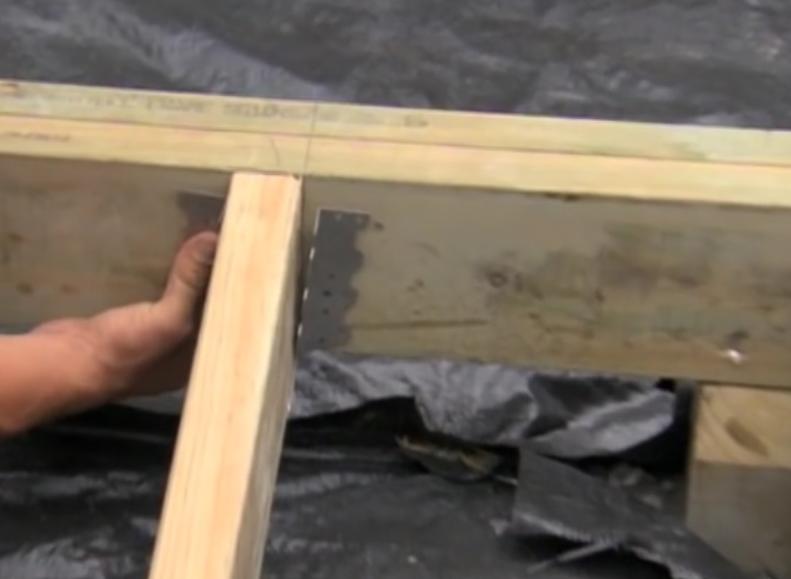
You should attach your joists to the outer frame using joist hangers & galvanised nails. When fitting you should check that all of your joists & the outer frame come together at right angles. You don’t want to end up with a wonky frame!
There are usually two methods of fitting joists where beams have been used in the construction of the wooden frame – You can fit joists between beams using joist hangers or you can simply sit the joists on top of the beams and fix them into place. The latter is the most popular & preferred option, as it is much easier & results in a frame which is much more structurally sound than breaking the frame into many smaller joists.

