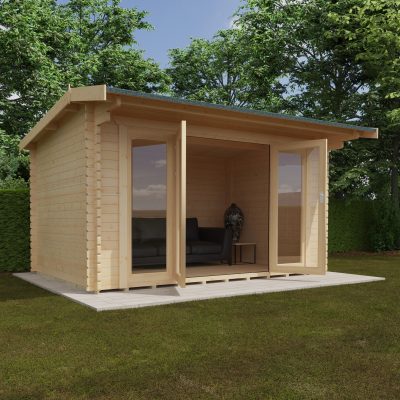
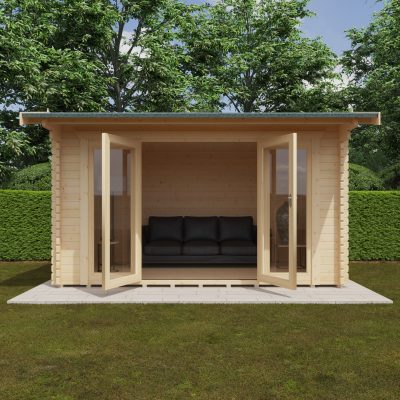
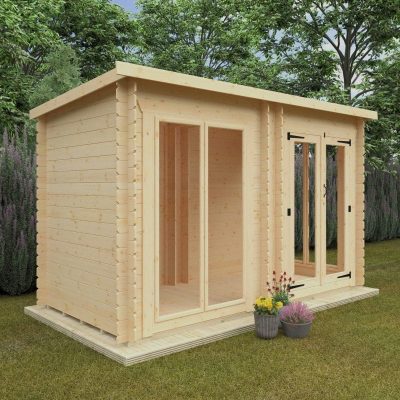
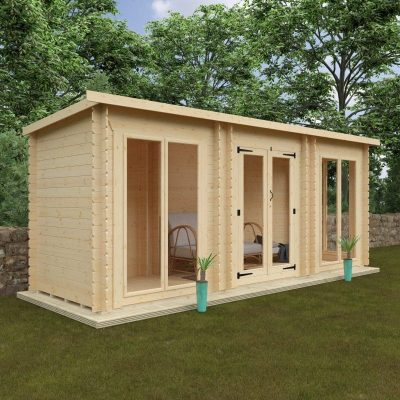
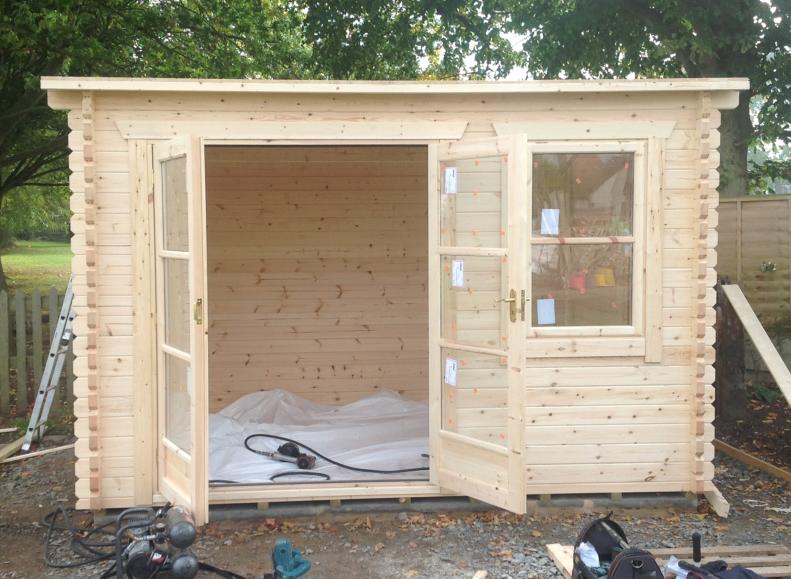
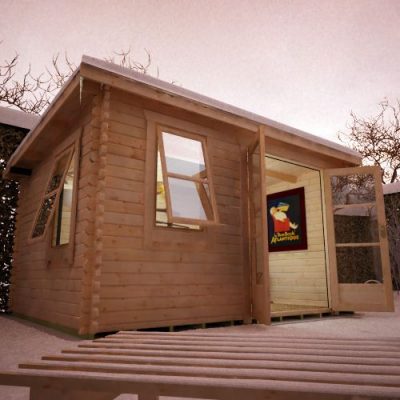
Welcome to our Log Cabin DIY self build
01. Log cabin kits
Once you have constructed a solid base for your Log Cabin and provided a firm, level surface - Then it is time to begin your easy to follow assembly process.
The following tools are recommended for the installation of your new Log Cabin kit, cordless screwdriver, wooden or rubber mallet, spirit level, hammer, saw, knife, stepladder and string line. All of our 1 Click Log cabin kits come with a comprehensive self-assembly instructions and guides pack to simplify the process for most novices.
Sound foundation
02. Building the floor
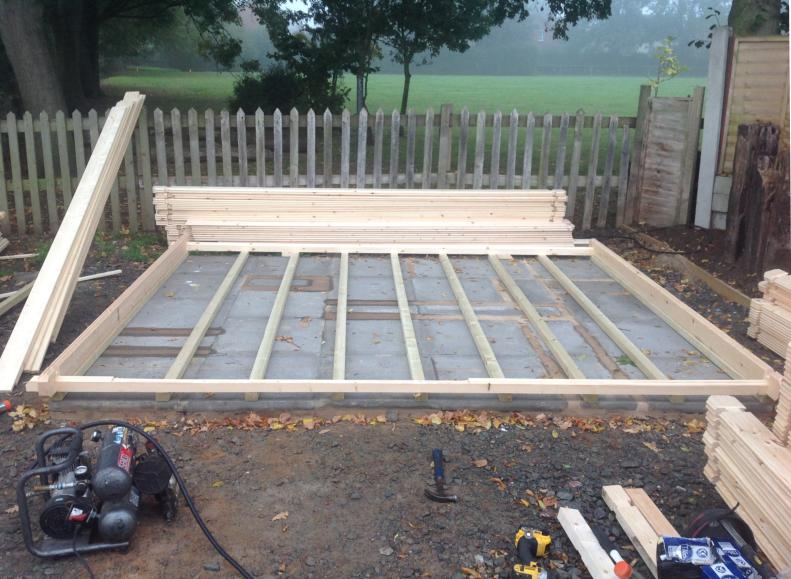
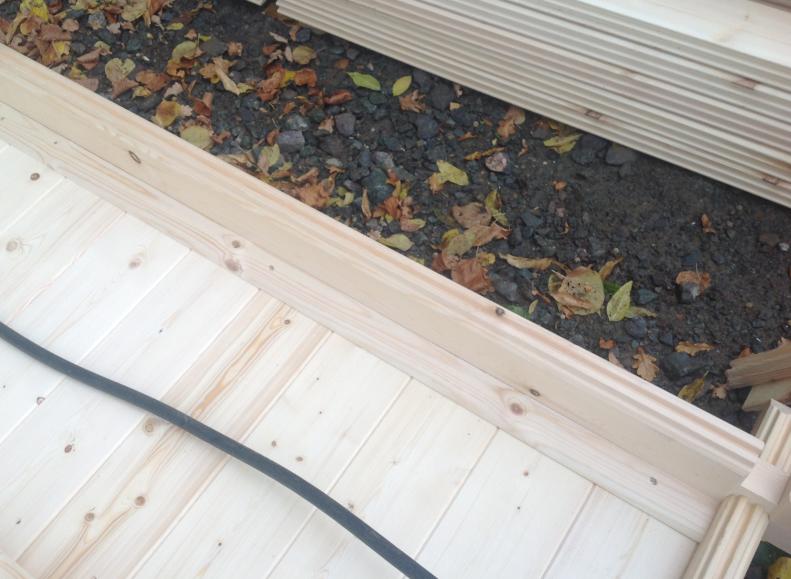
First, lay the tanalised floor spars/bearers into position with a 400mm centred spacing as shown in your build diagram.
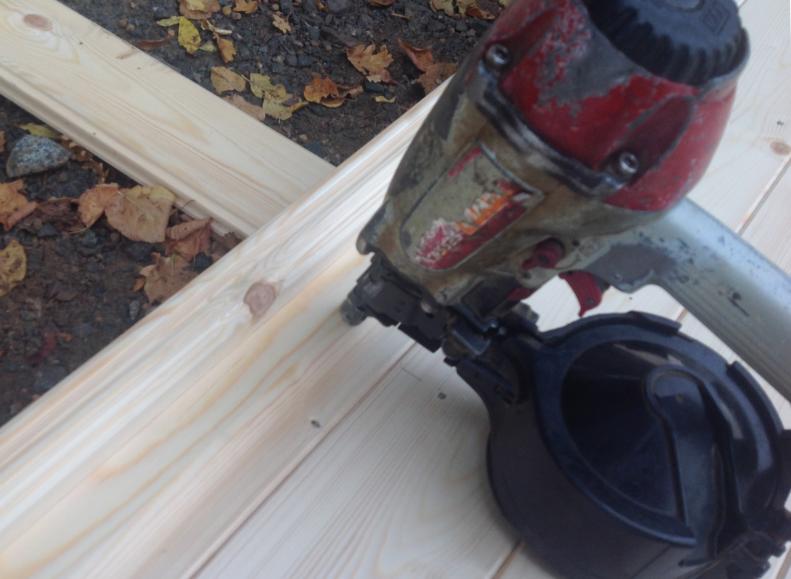
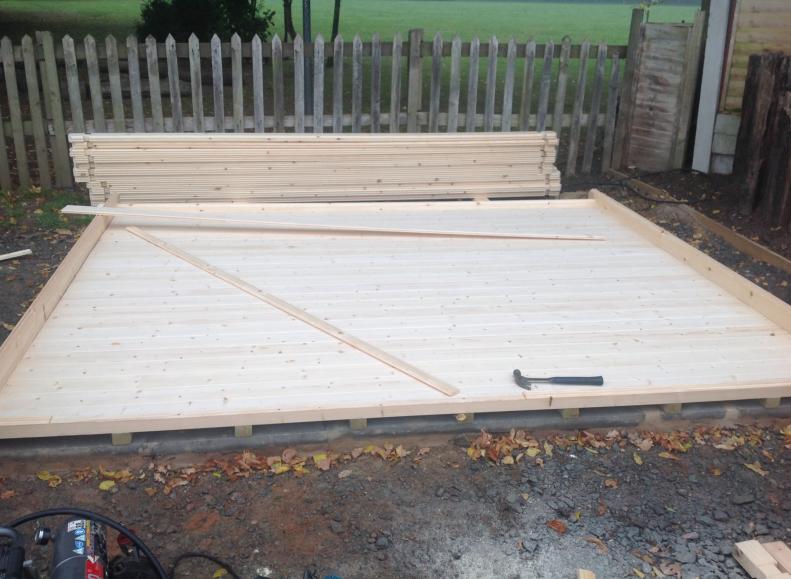
Place the first row of logs around and screw into position – Make sure the floor is square at this point by measuring corner to corner, then lay the floor boards leaving a 5mm spacing for expansion – nail each floor board with the 40mm nails and continue to the end, the last board may need to be cut.
Please remember to not place the floor too close to walls and fences to allow for the roof overhang at the sides, back and front. Consult your diagram for the exact overhang of your particular building.
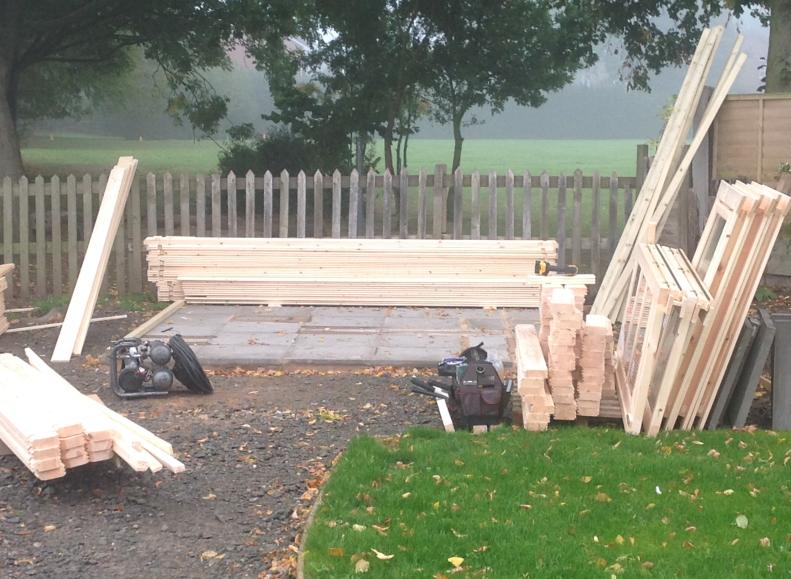
The best way to prepare for building your log cabin is to place the individual wall components next to the floor in the correct component order (see each wall components diagram). When you are happy with the layout of your building then it is time to start building.
Easy to follow plans
03. Building the walls
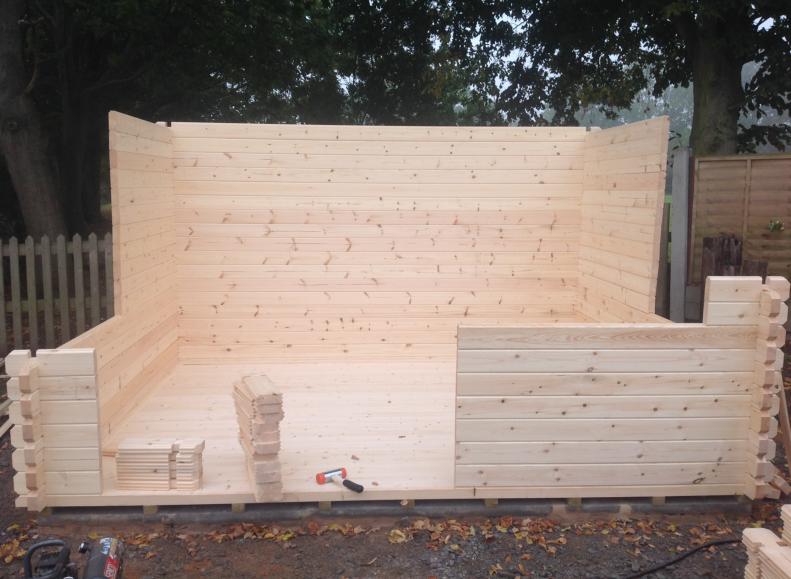
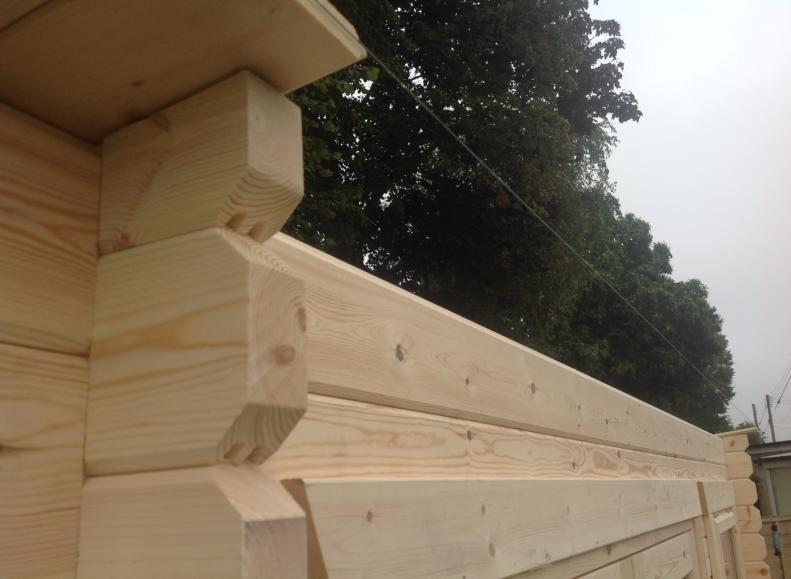
The first logs to place down are the two half logs which are placed onto the outside framing of the floor not on top of the floorboards, then interlock a full log along the back gable and the logs to the front gable ensuring a tight fit.
This is a good time for you to check the building is square, you can do this by measuring from the front right hand corner to the same point in the back left hand corner then compare this to the opposite front left and the right back corners, if these measurements are the same then the building is square. You can then continue building, you will find yourself building side to side and then front and back and so on.
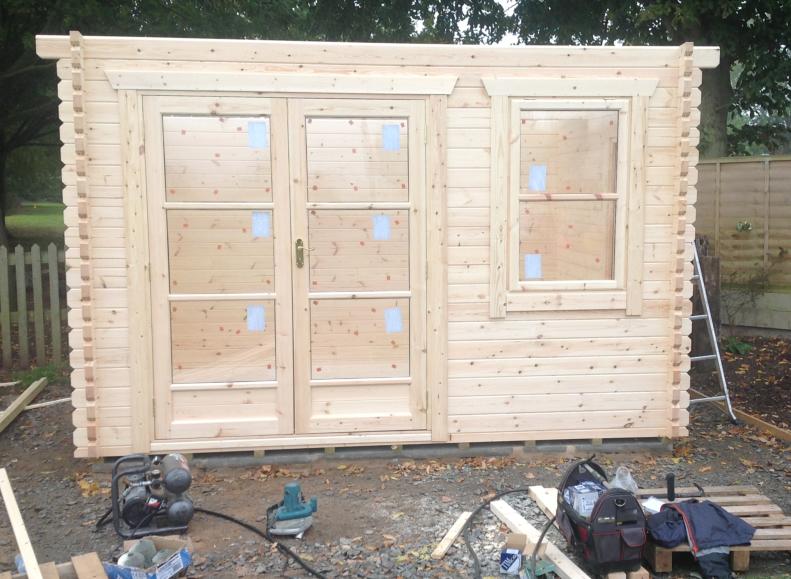
When you have built up a layer of five logs it is time to fit the door into place, the higher you build the logs the more difficult it becomes to put the door in place.
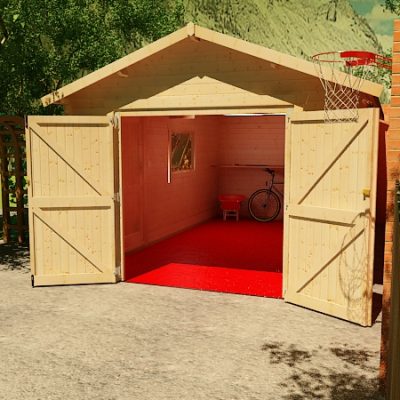
If you have purchased a cabin with double doors then you will have to build up the door frame using the four components provided. The easiest way to do this is to lay the two door sections side by side face down, slot the sill into place then the head, screw the four sections together through the joints with the 60mm screws provided.
Take the door / doors along with the frame and simply slide the frame over the logs until it if fully inserted, fix the door handle to enable you to open the door.
Topping off the cabin
04. Sturdy top
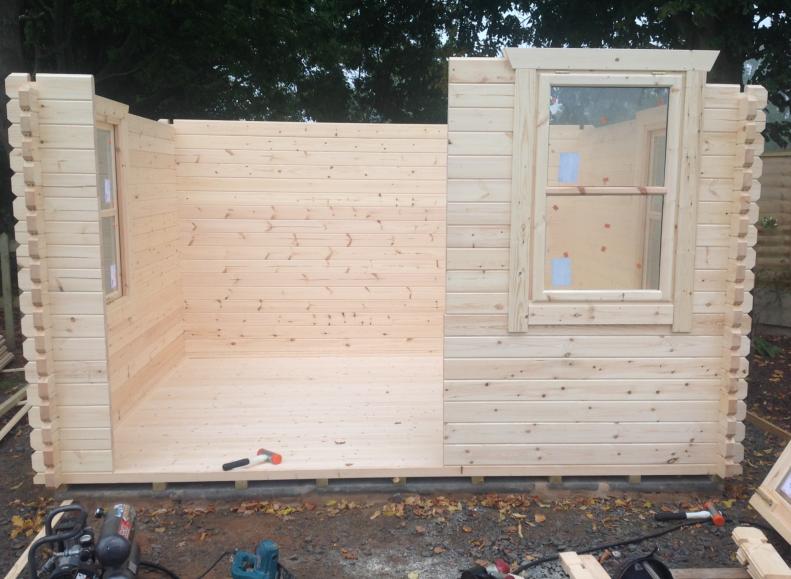
When you have reached the window height then follow the same procedure as with the door, build a layer of logs either side of where the window is to be fitted then slide the window into position.
Please Note:- If your base is not firm and level then this can cause the doors and windows to twist or to go out of square (gravity pulling the doors level).
Some door and window fascias may need to be trimmed to fit.
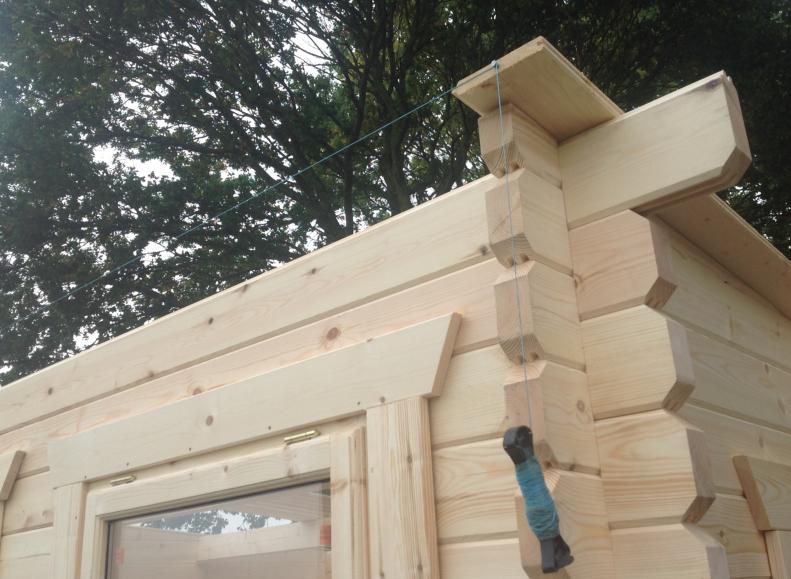
Once the Windows and doors are in position then continue to build your cabin up to the gable height. The gables on most of our models come fixed as one piece, this piece is then placed on top of the final side boards, one at the front and one at the back. If the gable sits proud of the sides or the sides sit proud of the gable then the logs that are on the higher side need to be knocked down further in to place.
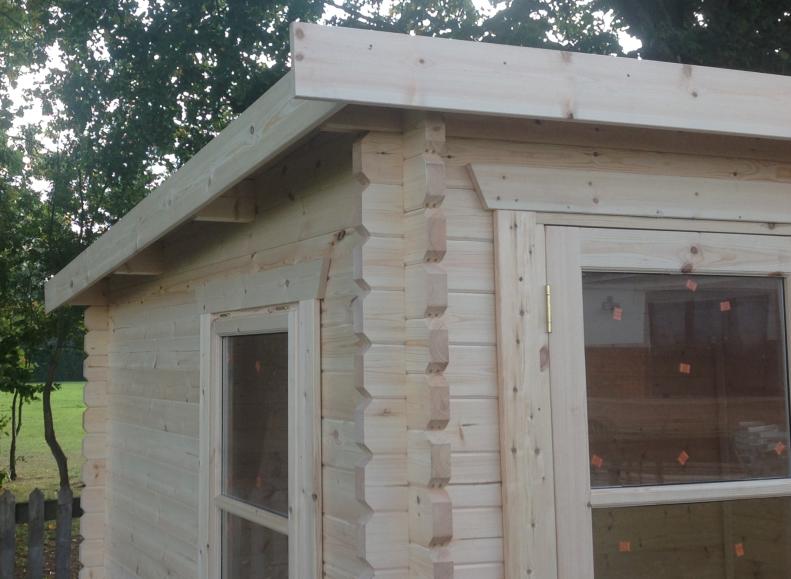
The roof purlins are supplied with notches either end and 23mm 45° cuts on both ends. The roof purling notches then sit in the gable cut outs with the 23mm 45° cuts facing downwards. Please make sure the purling is positioned the correct way round and the correct over hang is at the front of your cabin. Fix the purling to the gable using 2½ nails, nailing downwards through the gable into the purling, first you must make sure that the Cabin is completely vertical on all sides, as when the roof boards are nailed into position the cabin is then a more rigid structure and cannot be moved as easily. If this is not done then this could affect the doors and windows to be out of square and not operate correctly.
Lay the roof boards on the roof with the groove finished side faced down, start at the front and work towards the back fixing each board as you go by nailing downwards into the purling and logs below, making sure the boards run inline and parallel with the side of the building. Please note the last board will have to be trimmed to the correct width so that it does not protrude past the end of the purling.
Final stages are in sight
05. Final stages
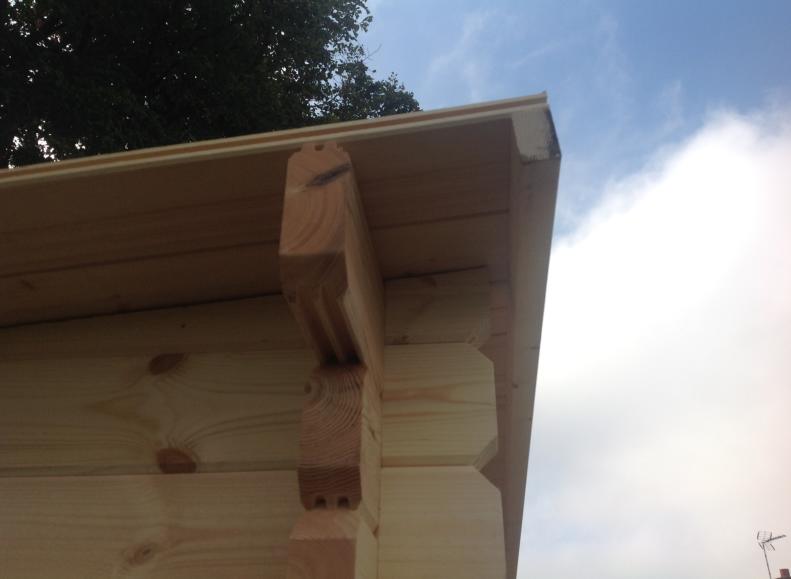
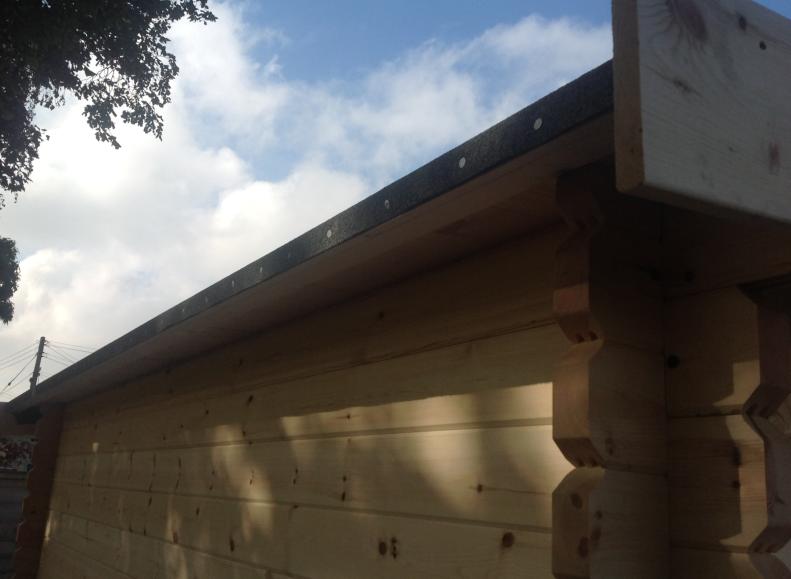
Once the roof boards are all in place and securely nailed down, then the roof baton is fixed in place by nailing it to the bottom underside of the roof boards. The bottom edge is then finished of with a fascia which is nailed onto the roof baton.
The felt is secured by the roofing felt nails provided. If shingles are to be fitted then the felt should not be used. For shingle fitting see shingle packs for instructions.
When the felt / shingles are fitted then the fascias can be fitted by nailing them to the top purling and bottom Roof Baton, finish off the fascias by nailing the peak over the top of the fascias where they meet in the middle. Use the 80mm Screws provided, screw the bottom layer of logs from the outside into the 19mm floorboard on the inside of the cabin. Once this has been done you can fix the interior skirting boards which may require trimming to length and jointing in the corners.
The storm brace is used to hold / tie the cabin together but still let the cabin move during different weather conditions. The storm brace have a hole at the top and a long groove at the bottom. Fix the storm brace to the front and back gables with the 40mm coach bolts provided (see gable diagrams). If the storm brace is fitted too tight then the cabin will not be able to move, so always leave the bottom 40mm coach bolt slack enough to let the coach bolt move up and down inside the groove of the storm brace.
Step by step
06. Watch our video
This is obviously a very simplistic way of describing how you install/assemble one of our Log Cabin kits, if you would like more information please call us on 0333 733 8002.
1 Click Log Cabins Tip: Do not install your Log Cabin close to trees or large bushes, why? branches could cause scratches/tears in the roofing felt or shingles, and large foliage could trap water on the roof.
If the Log Cabin’s walls are repeatedly exposed to damp foliage/leaves, this could cause the timber to be damaged by the ingress of water.

